Subminimal Nanofoamer review after 1 year of latte and cappucchino
for €39.00, from The God Shot.I've been brewing espresso's with the Flair Espresso Maker for quite a while now. One of the few downsides of manual espresso machines is that there is no steam wand to froth milk with when creating a milk-drink such as a cappucchino or a latte. Since any aspiring barista will inevitably receive a request for a milk drink while serving guests I've decided to venture into the wonderful world of milk frothing with the Subminimal Nanofoamer

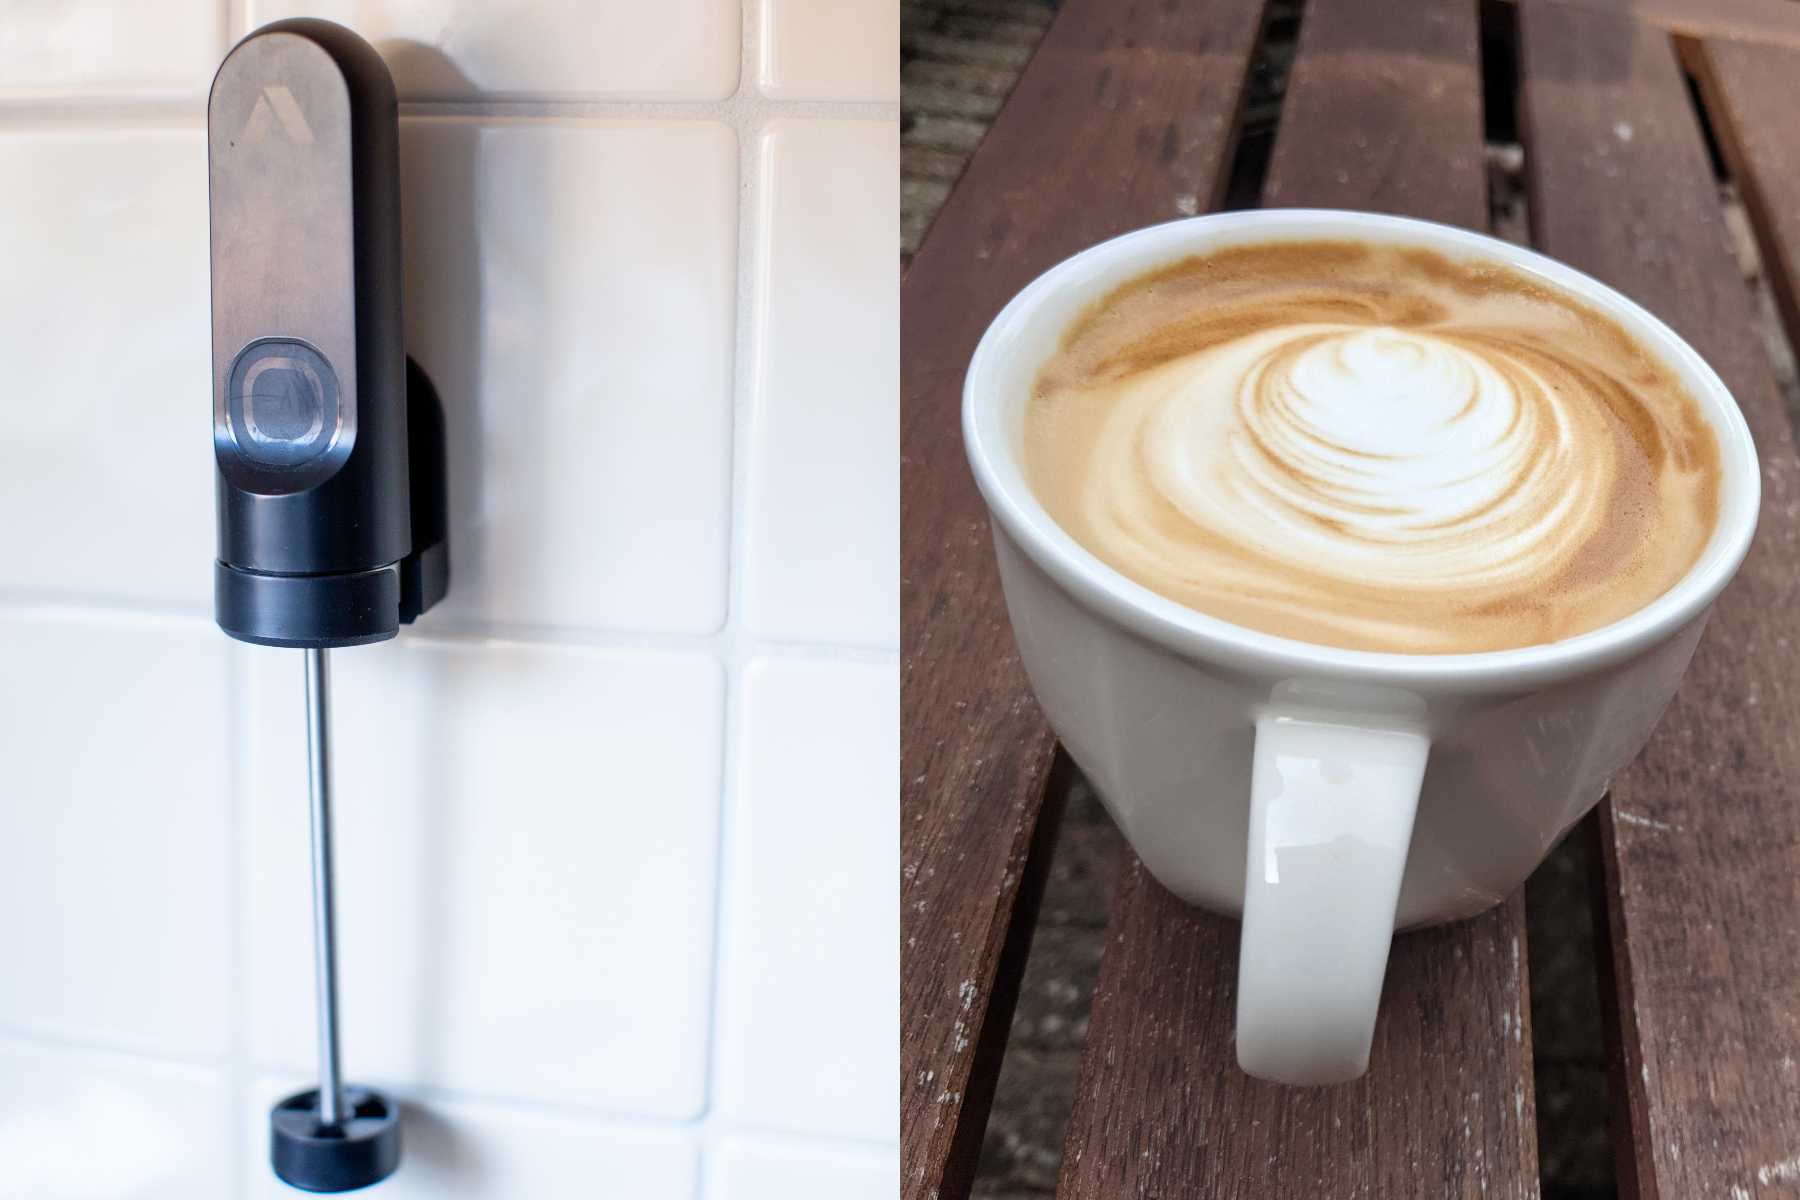
The Nanofoamer is a small battery powered device that uses a propeller on a stick and a mesh screen to froth milk and incorporate the foam into the milk. If you have no idea how something like that would work, I'd advice you to watch this video to get an idea of the workflow:
Screens and Buttons
The device is pretty straightforward and comes with two screens. I only use the "fine" screen as I'm still learning to use it properly and don't want to introduce even more variables into the mix. My early days Nanofoamer needs a firm press to engage, I've applied a modification that decreases the amount of button pressure, but I've heard they fixed this issue in later models. I've also seen some problems online with people cracking/warp their mesh screens. I've not had this issue myself but the manufacturer is very helpful with addressing these issues.
Heating and jugs
To complete the kit I've also bought the Subminimal Flowtip Jug but I guess any other barista jug would work similarly well. Small tangent: I hoped to be able to heat the milk inside the Flowtip jug itself using induction, but unfortunately that does not work for multiple reasons: first my induction stove does not detect the small jug and therefore doesn't engage. Second, even when heating on a traditional source, the milk quickly burns in to the bottom of the jug pretty badly. I now just heat the milk in a separate pan, which is less ideal but works fine in my workflow.
The Nanofoamer is the first acceptable alternative to the "please-don't-explode-my-kitchen" Bellman CX25-S or one of the "might-as-well-buy-a-full-espresso-machine" Countertop Milk Steamer I've come across that will actually enable you to get similar results to a real steam wand in a very small form factor.
Latte art school
As you probably would have guessed, learning to use this appliance is a skill that takes a while to develop. I've come to learn that there are a lot of variables that have big effects on the result. In order of importance, these are the most important parts of the nanofoamer curriculum:
- Aerating enough to get micro foam, but not aerate too long and get a big blob
- Get the angle exactly right to get, and keep, the optimal vortex going
- Incorporate enough to avoid bubbles, but not aerate too long and lose the structure of the foam
- Getting high power batteries such as the Panasonic Eneloop Pros and keeping them very, very charged.
- Getting the temperature of the milk exactly between 60 and 65 degrees Celsius.
If you get all of these right: congratulations, you can now move on to your final exams: pouring that milk into an espresso shot and creating... art. Or at least, creating something. Create a leaf that looks like it has been stuck to a wheel tire after a drive from the forest to home. Or create a flesh eating plant that is being eaten by a fish thats being eaten by another fish. Or create a wormhole between your espresso and the milky way. Have fun and enjoy your milk drinks!
